PRODUCT INSPECTION
1)On-line measurement: Unlike traditional methods, portable 3D measurement arm can be used in field measurement and performs an on-line dimensional inspection.
2)Design improvement: With its computer-aided inspection function, it can quickly identify deviations from the product with the original design so as to improve the design and crafts.
3)Rapid prototyping: Based on the existing products or partly using reverse method to achieve the design scheme.
4)Parts archiving: For those parts whose prototypes or drawings do not exist, we can archive them for future use.
IN-PROCESS INSPECTION ON THE SHOP FLOOR
1)On-site measurement: Without any special requirements for environments, it can be used on the shop floor to promptly detect product quality issues such as deformation, abrasion, etc. so as to reduce the rejection rate.
2)Complex workpiece inspection: In-progress inspection for different sizes of jigs and fixtures, tooling, platforms, automotive interior parts, pipe fittings, etc.
3)Online inspection: Different from traditional methods, PMT arm can achieve on-line or on-machine inspection with great flexibility and high performance at a great value in the course of production.
MANAGEMENT OPTIMIZATION & RISK CONTROL
1)Production process optimization: Obtain data by fully inspecting products in-process to help make management decisions scientifically.
2)Risk control: Through inspecting products directly on or at the machine producing them which helps to detect issues like deformation, abrasion, and mould and production crafts can be adjusted timely to reduce the risk of defective subsequent assembly or other defects.
NECESSITY & URGENCY
1)Quality inspection: With growth of output, design alterations and new products launch, more and more measuring equipment is needed for quality assurance.
2)Thanks to its computer-aided inspection function, the new measuring arm can quickly identify deviations from the product with the original design so as to improve the design, crafts and quality.
3)Rapid inspection: Comparing to traditional manual methods or CMM, it allows users to significantly speed up their measurement work and helps detect problems early to reduce the rejection rate.
4)Quality control for supporting parts: Finding out errors between suppliers or outsourcing products and the original design in time in order to clarify the responsibilities.
5)Reverse engineering: Nowadays with customers ever-increasing demands, traditional methods are unable to explore any new products, in which case we should never give up the pursuit of more refined and higher quality products. Therefore, considering a stable and long-term development, a new measurement technology is urgently needed to improve this situation.
Multiple choices
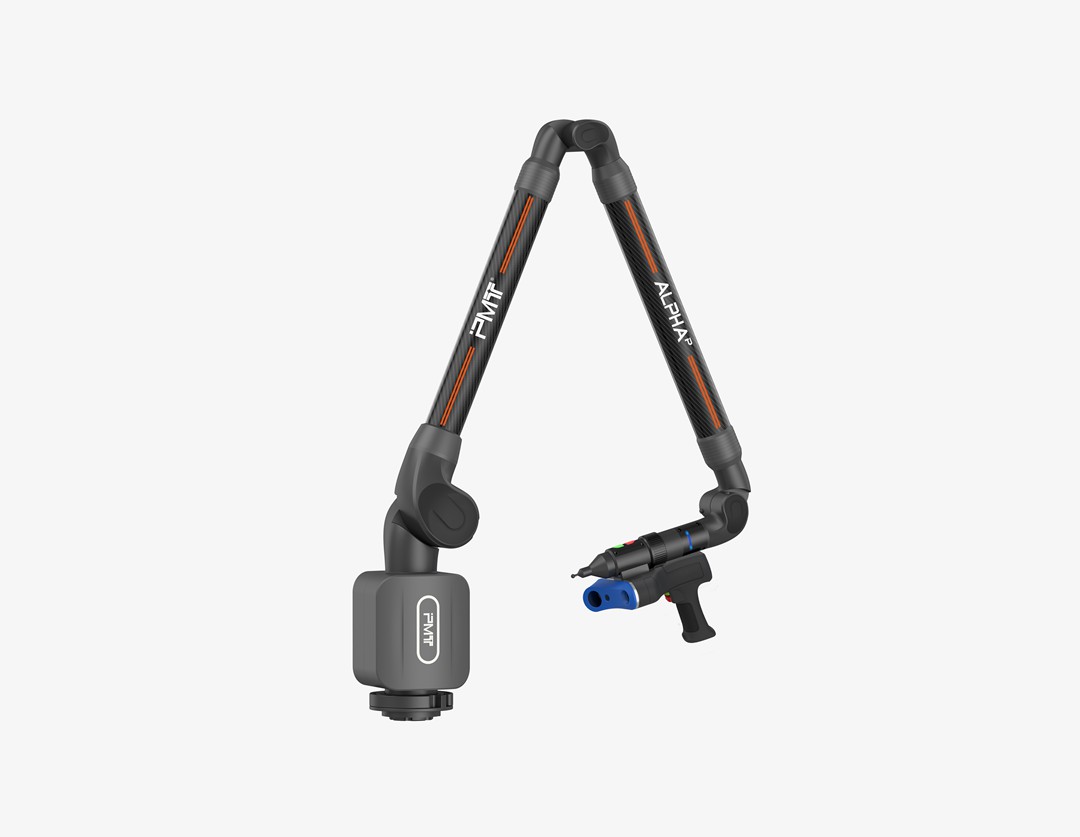
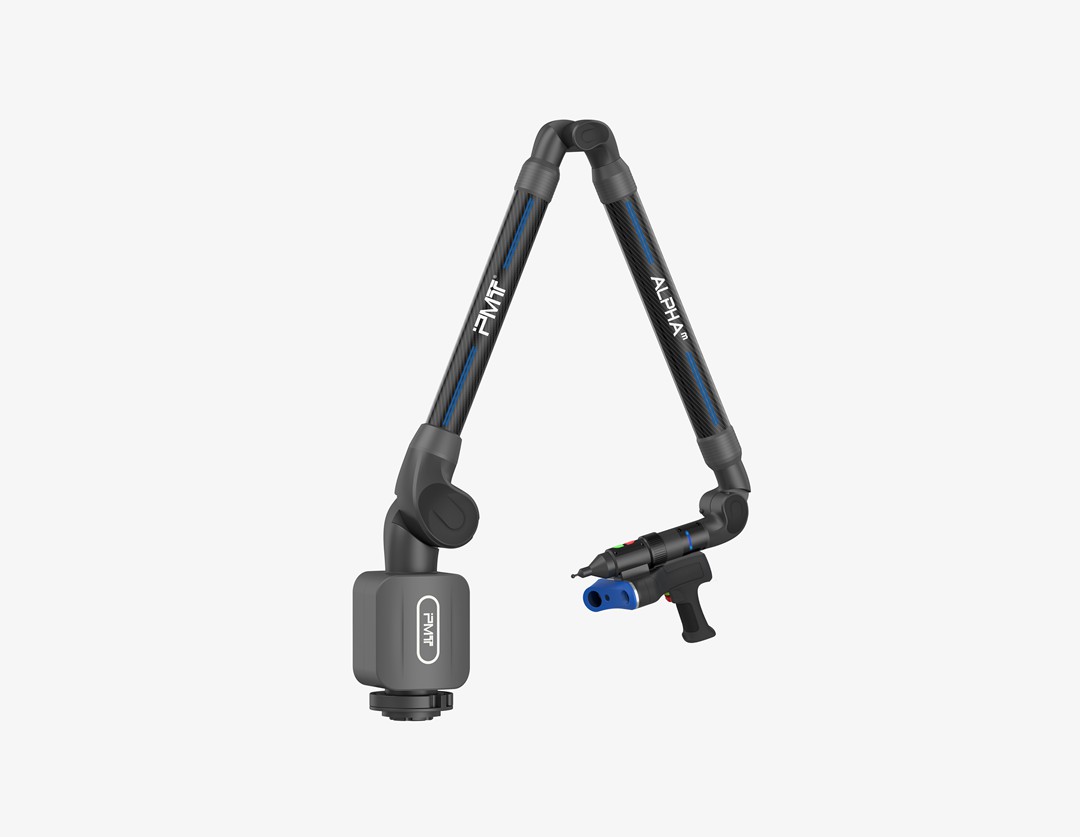
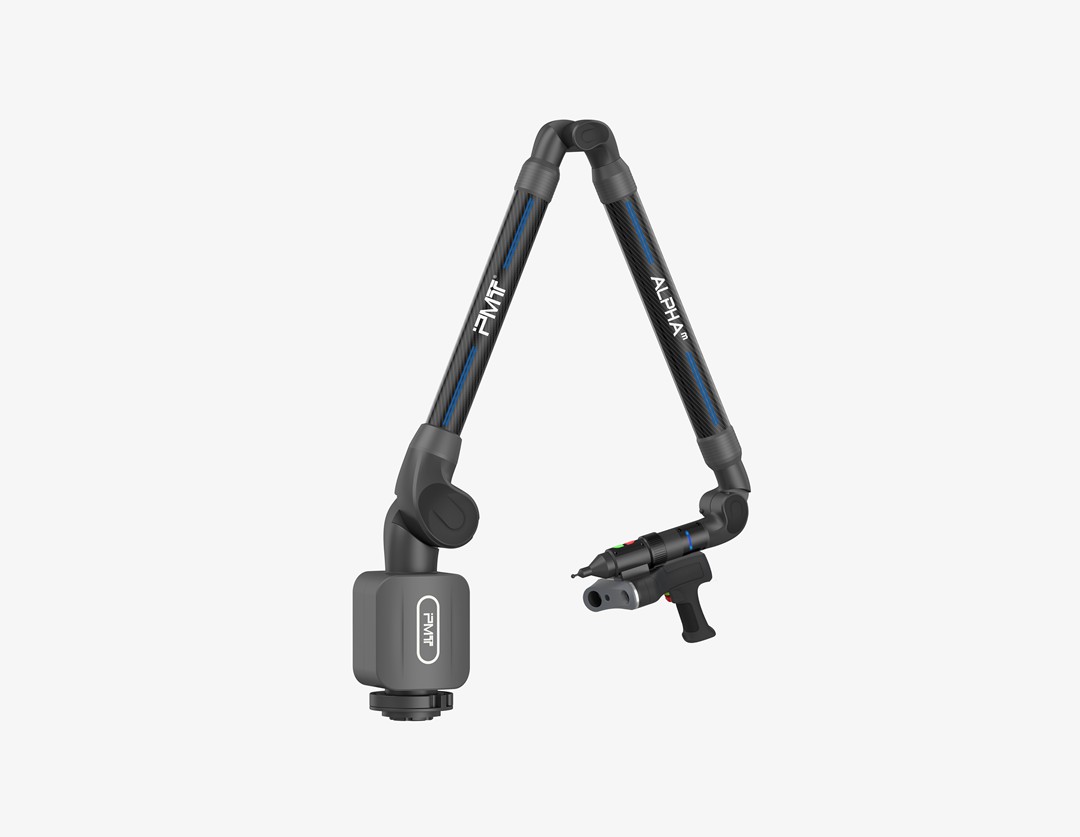
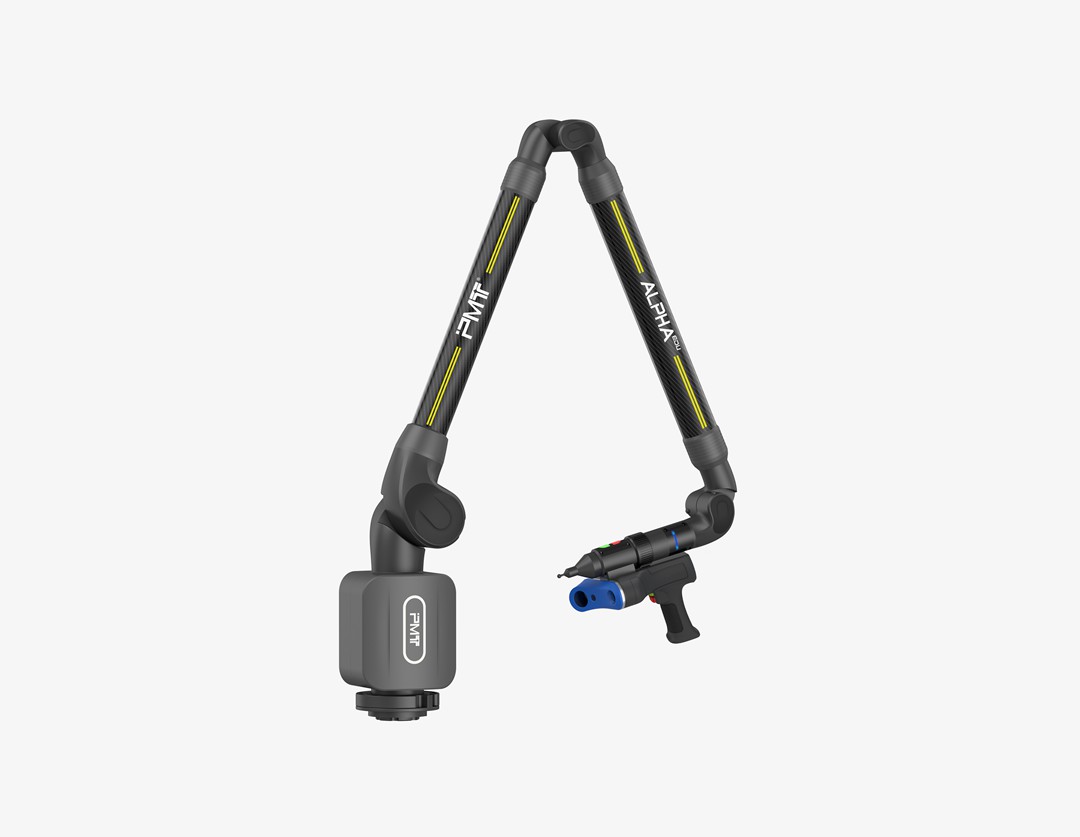
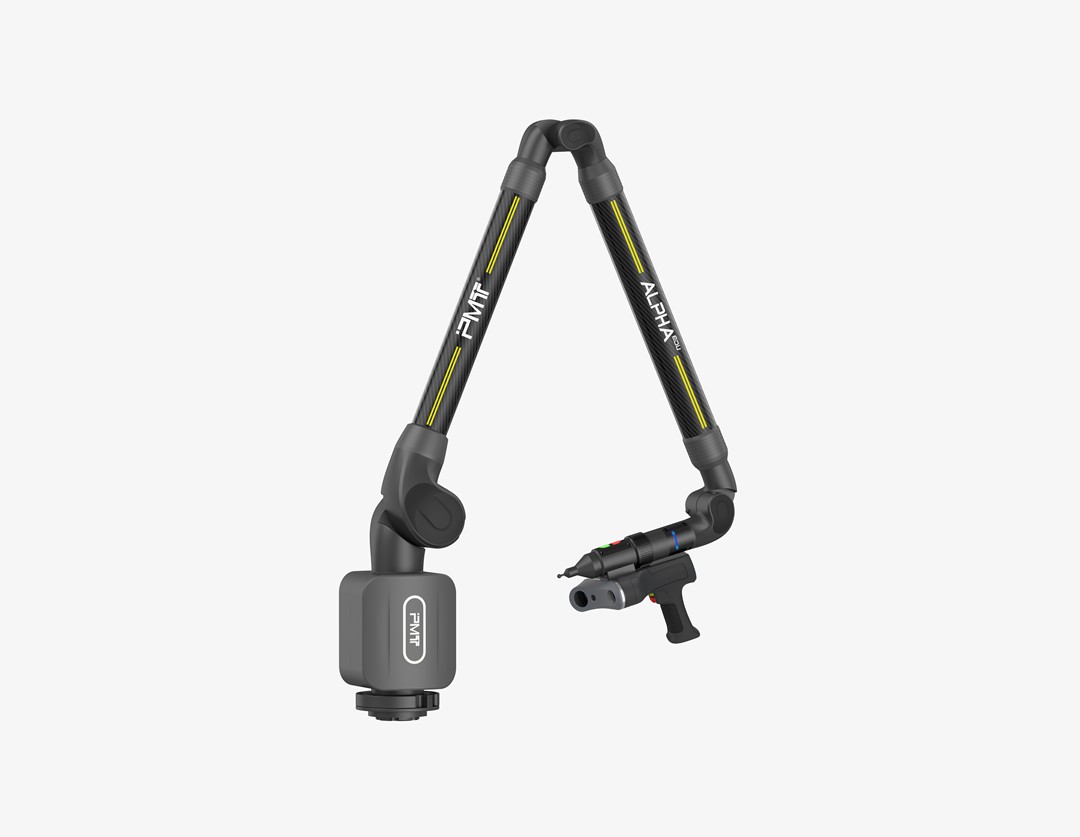
PMT has been always pursuing measurement methods that are more convenient and accurate. The newly launched blue laser scanning head includes SD and HD models, and can be compatible with PMT 7-axis arm, offering 6 measuring ranges from 2.0m to 4.5m. Customers are free to choose either contact or non-contact option to fulfill their needs for different environments.
Fast data collection
The PMT blue laser scanning head can scan up to 1200,000 points per second. With its best structure, the scan width can reach 115 mm of the far field. The features of light weight(536g) of the scanning head and the internal counterbalance system make the measuring arm easily detect tens of thousands of points and capture the original shape of measured object, so as to achieve accurate dimensional measurements.
Cost effective
The blue laser light can scan workpieces of any material and customers only need one device to complete all inspection work. Customers can choose either SD or HD scanner in different application scenarios. Both models can assist with all GD&T measurement and scanning. There is no need for conventional measuring tools. And most importantly, it offers customers a good low-budget option.
Lower power consumption
The optimized circuit design helps save cost in extra consumables. Given that the storage temperature ranges from -20°C to 60°C", customers don’t have to prepare special environments like thermostatic chamber, for the machine is quite friendly with all working environments.
Scan Arm:
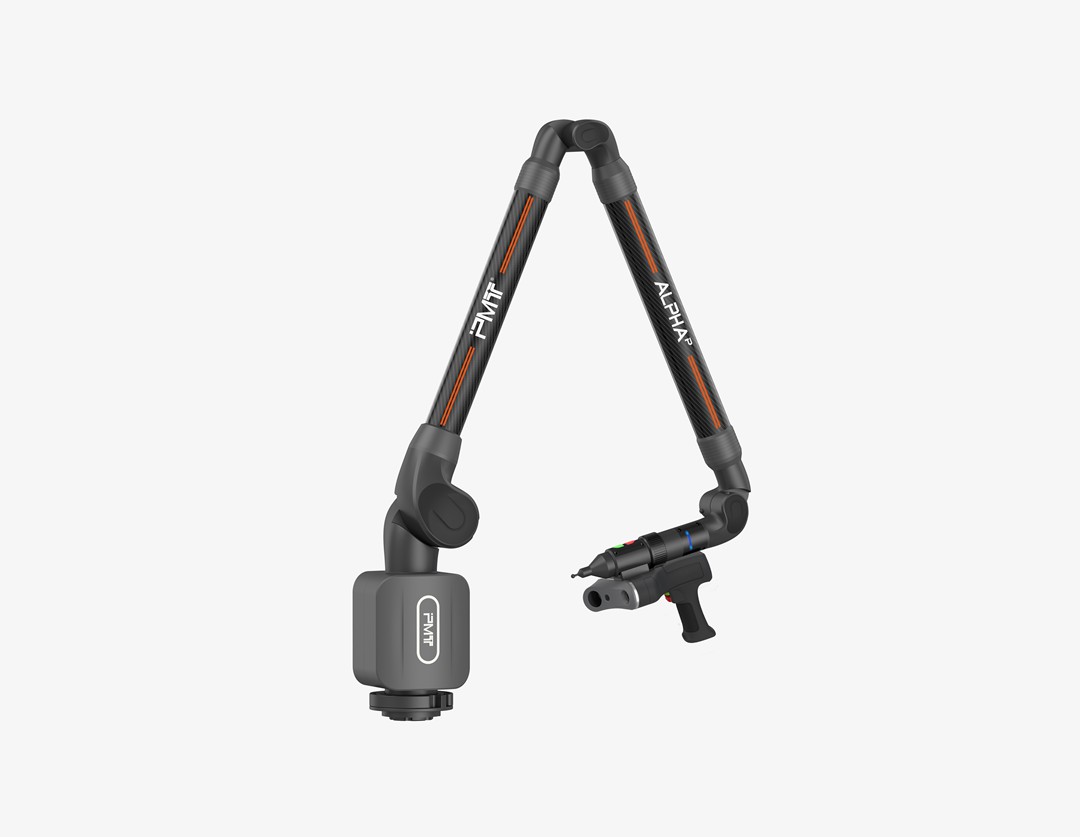
1. The ALPHA Scan Arm provides three different grades of accuracy: P/M/EDU, with two options of scanning head: SD/HD;
2. It offers twelve measuring products in different specifications with working volumes from 2.0 m to 4.5m;
3. All accuracy is certified to ISO 10360-8 standards;
4. Laser Class 2, safe for unaided eye exposure;
For more information on technical sheets, please contact us by E-Mail or Phone.
